Complete guide
How to teach and practise kindergarten geometry worksheets - standard theme (easy)
How to Use This 20-Item Kindergarten Geometry Worksheet
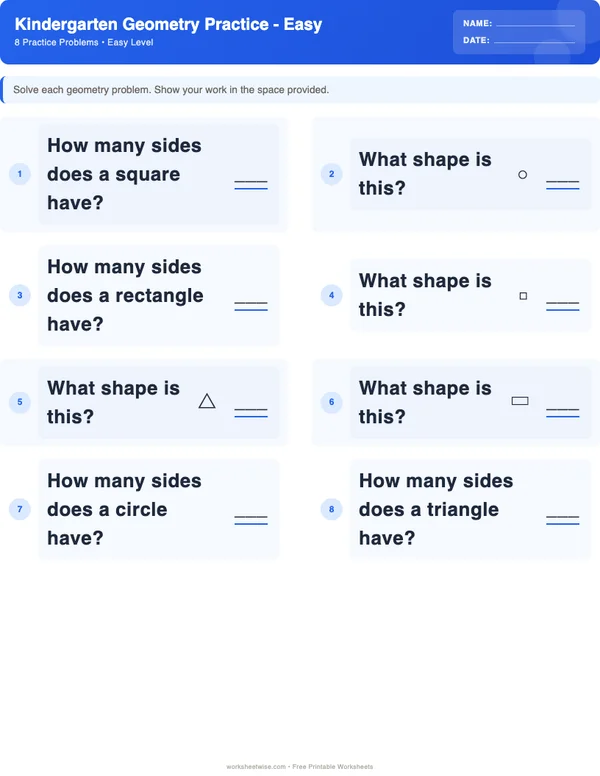
The free Kindergarten Geometry Worksheets – Standard Theme (Easy) printable contains 20 exercises covering shapes, sides and vertices, perimeter, area, and geometric properties. Use it as a short sequence rather than presenting all 20 items at once: preview the page, model one comparable problem, solve a few items together, release a small set for independent work, and use the remaining items for review.
The learner’s work should determine the pace. A child who can identify shapes but cannot yet distinguish sides from vertices needs different support from one who counts accurately but confuses area with perimeter. Accuracy matters, but so do explanations, drawings, counting methods, and corrections.
Grade labels describe the intended practice level; they do not establish that every item will be equally accessible to every Kindergarten learner. Local curricula and instructional sequences differ, particularly in when perimeter and area language is introduced. Use the worksheet as practice, not as a comprehensive assessment or a substitute for the learner’s regular curriculum.
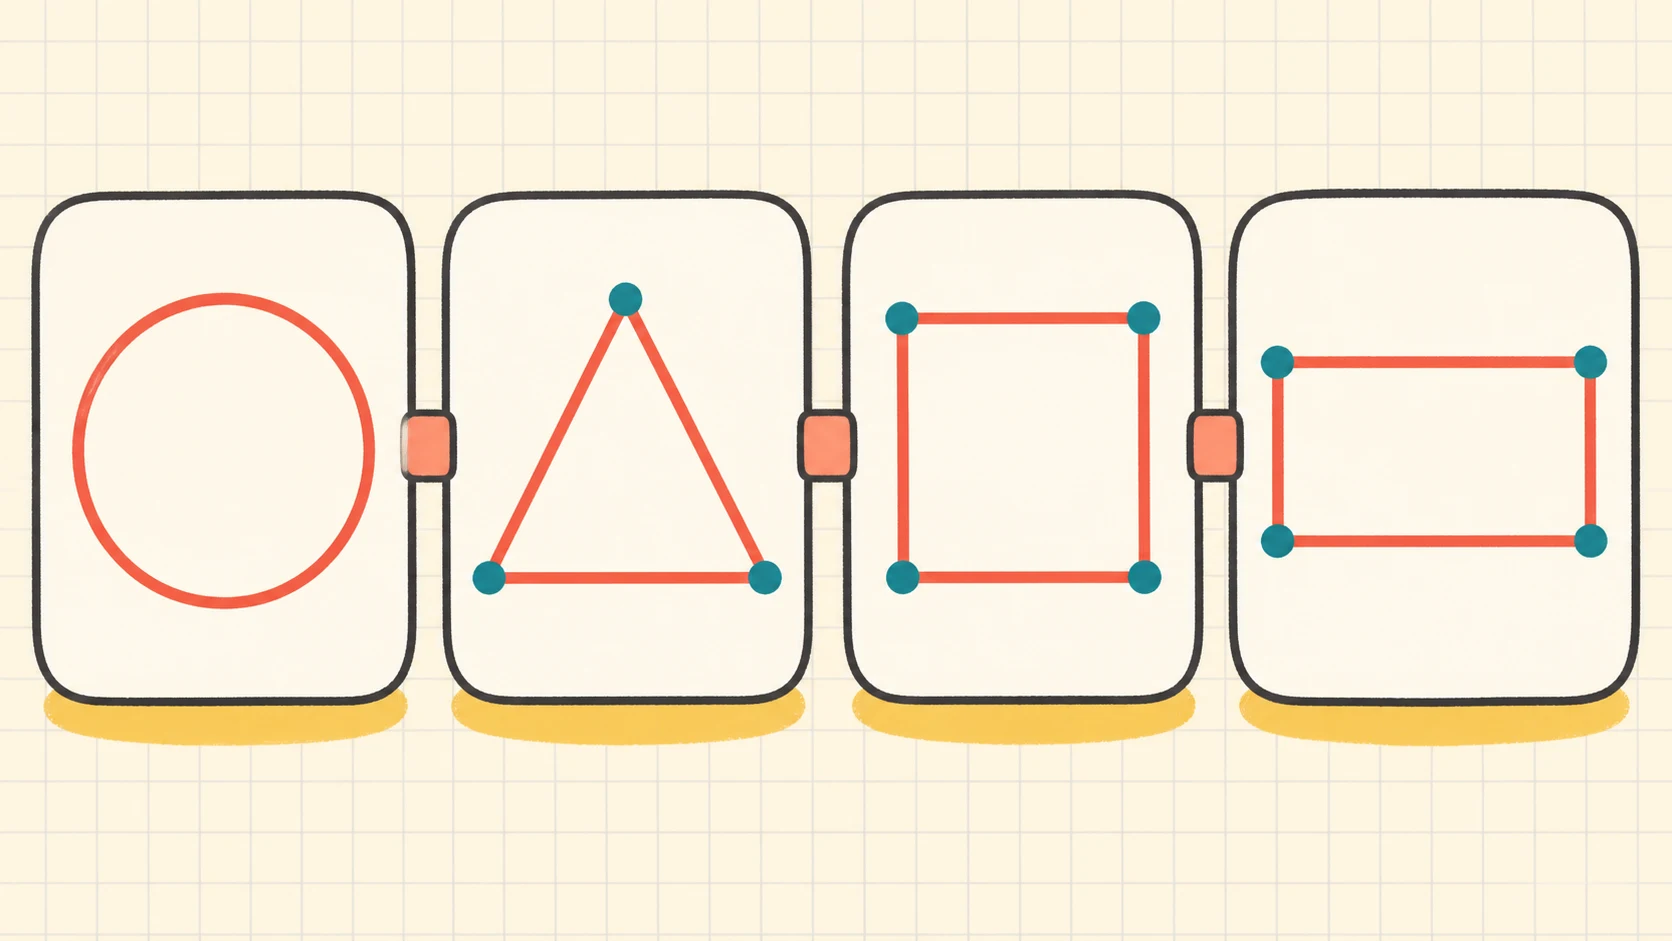
Preview, model, guide, observe, and then decide how much independent practice is appropriate.
What the Worksheet Practices
The worksheet is labeled easy and uses a standard theme. Its 20 problems address four connected skill areas:
- identifying shapes;
- counting sides and vertices;
- calculating perimeter and area;
- recognizing geometric properties.
These skills are related, but they are not interchangeable. Naming a rectangle does not necessarily show that a learner can explain why it is a rectangle. Counting four sides does not establish that the child knows where one side ends and another begins. Finding perimeter requires attention to the outside boundary, while finding area requires attention to the space covered inside.
The broader Kindergarten Geometry topic guide explains the wider progression of identifying, describing, building, and composing shapes. Use that guide when you need to locate this printable within a longer sequence. This lesson guide stays focused on launching, supporting, checking, and revisiting this particular worksheet.
The Common Core mathematics standards describe grade-level expectations while also emphasizing mathematical understanding and age-appropriate explanation. That makes a brief question such as “How do you know?” useful here. However, this worksheet guide does not claim comprehensive alignment with every applicable standard or with any particular local curriculum.
Prepare the Learner and the Materials
Print the worksheet and keep the separate answer key out of the learner’s view. Have a pencil, eraser, a few small counters, and several simple paper shapes available. Square tiles are useful if an area item can be represented by equal-size units. A craft stick or finger can help the learner track one edge at a time.
Before beginning, inspect the actual printed page. The catalogue identifies the covered skills, but the adult should still note the wording, diagrams, labels, and units used on the copy in hand. Do not assume that every problem uses the same response method.
Use a brief readiness check without scoring it:
- Show a circle, triangle, rectangle, and hexagon in mixed orientations.
- Ask the learner to name any shapes they recognize.
- Point to a straight edge and ask, “What part of the shape is this?”
- Point to a corner and ask, “What do we call this point?”
- Trace around the outside of one shape.
- Cover the inside of a small rectangle with equal-size tiles.
This preview is an instructional suggestion, not a sourced requirement. Its purpose is to reveal which words and actions need modeling before pencil work begins.
A learner does not need to answer every preview question correctly. Watch for what the child can already do. If shape names are secure but “vertex” is unfamiliar, teach that term without reteaching every shape. If the learner counts corners repeatedly or skips an edge, plan to model an organized counting path.
A Practical Lesson Progression
The following plan divides the 20 items into manageable portions. The item ranges are a suggested structure, not a claim about the worksheet’s exact internal ordering. Adjust the ranges after looking at the printed page.
| Phase | Suggested worksheet use | Adult’s role | Evidence to watch |
|---|---|---|---|
| Preview | No scored items | Review directions and needed vocabulary | Can the learner point to a side, vertex, boundary, and inside region? |
| Model | Use an adult-created parallel example | Think aloud without completing a worksheet item for the child | Does the learner follow the counting or measuring path? |
| Guided practice | About 3–5 items | Prompt, observe, and reduce help gradually | Can the learner explain the choice or calculation? |
| First independent set | About 4–6 items | Stay nearby but do not lead each response | Does the learner use the modeled routine independently? |
| Checkpoint | Review attempted items | Discuss patterns rather than only totals | Are errors conceptual, procedural, visual, or attentional? |
| Second set | Remaining suitable items | Continue, pause, or save items based on observed work | Is accuracy stable when support is removed? |
| Retrieval | Selected items or parallel examples later | Ask the learner to recall the method | Does the skill remain available after a delay? |
A single sitting is not mandatory. If the learner’s careful work deteriorates, stop at a natural break and record where to resume. The page does not become more useful merely because it is completed quickly.
The IES guide on teaching mathematics to young children recommends using a developmental progression and monitoring what each child knows. Applied cautiously here, that supports moving from concrete action and spoken description toward the printed task while using observed work to select the next amount of practice. The source did not evaluate WorksheetWise or this specific printable.
Model the Task Before Asking for Independence
Read the directions in actionable parts
The worksheet direction is: “Solve each geometry problem. Show your work in the space provided.”
For a young learner, translate that into a repeatable routine:
- Look at the entire shape or diagram.
- Say what the problem asks you to find.
- Touch, trace, count, or mark the relevant parts.
- Write the answer.
- Check once using a different action when possible.
For example, if the prompt asks for vertices, the learner should point to corners rather than count sides and hope the totals happen to match. If it asks for perimeter, trace the complete outside boundary. If it asks for area, attend to the region inside.
Demonstrate one complete thought process
Use your own simple drawing so you do not take away one of the worksheet’s practice opportunities. Draw a triangle and say:
“This problem asks for the number of sides. A side is a straight edge. I will place my finger on one edge and move around the shape in one direction: one, two, three. I return to where I started, so I counted every side once. The triangle has three sides.”
Then check by placing one small mark on each counted side. Keep the explanation concise. The learner needs a usable method, not a long lecture.
The IES guide for assisting students who struggle with mathematics recommends systematic instruction, clear mathematical language, and carefully selected concrete or visual representations. Those are high-level recommendations. In this lesson, paper shapes, finger tracing, counters, and square tiles are practical representations chosen to clarify the worksheet’s concepts; they are not mandated by the source.
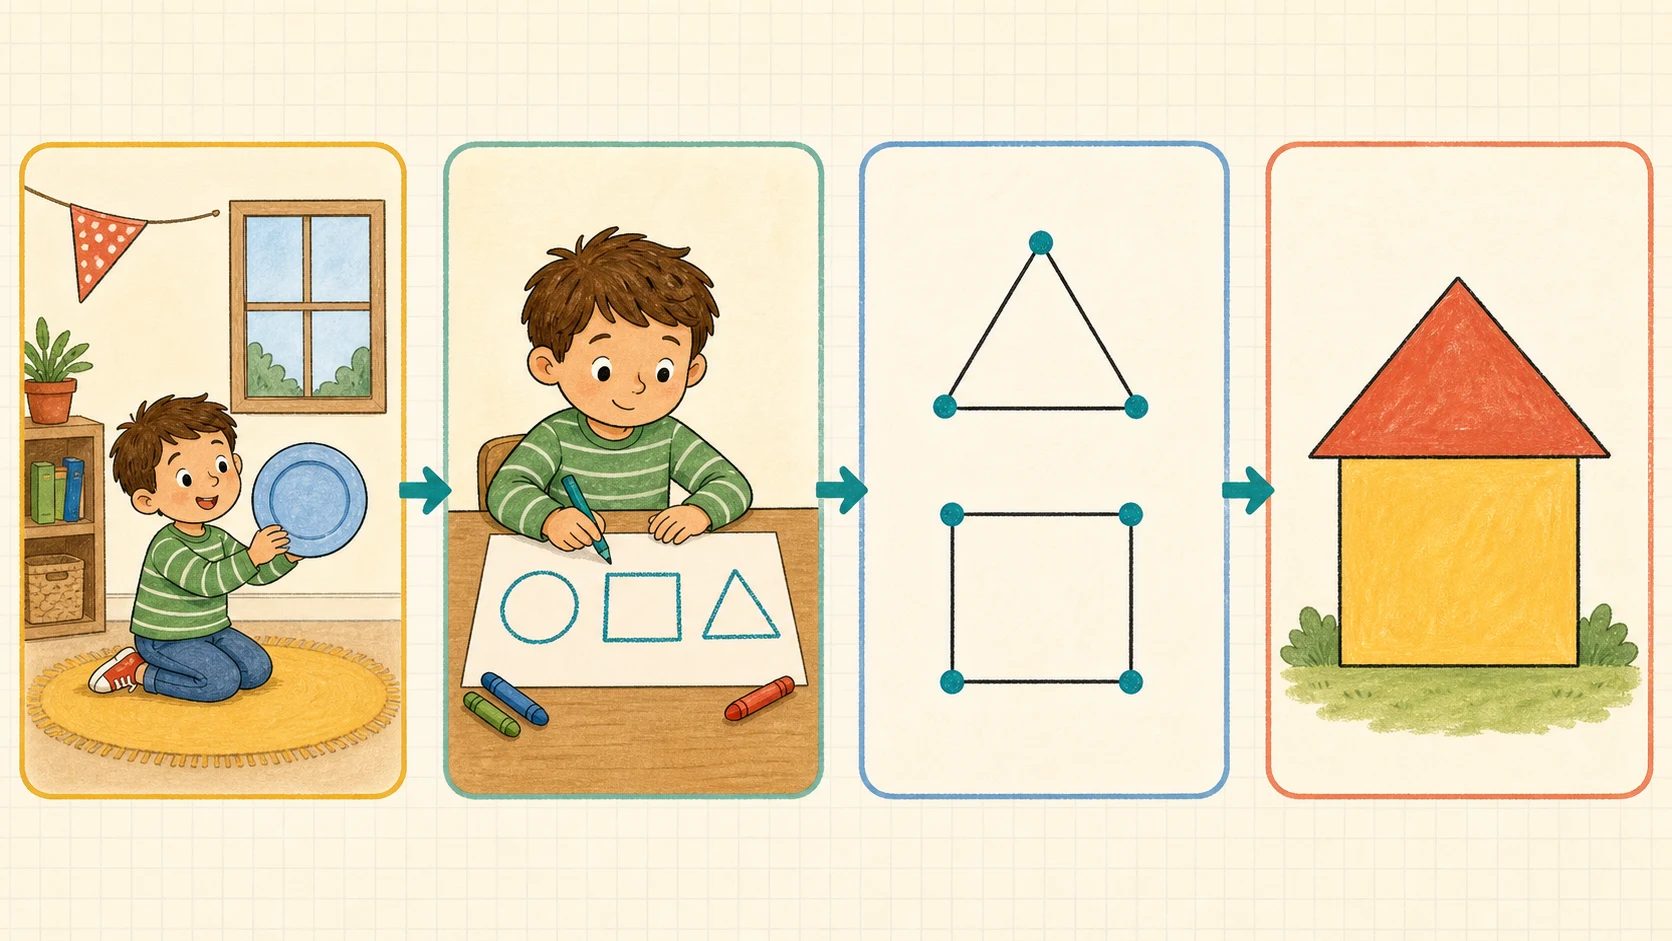
Model the decision process, then remove prompts as soon as the learner can carry out the routine.
Move from “I do” to “you do”
After modeling, draw a different shape and solve it together. Ask the learner to direct your hand: “Where should I start? Which edge comes next?” Then let the learner solve another example while explaining aloud.
Use prompts in this order:
- “What is the problem asking?”
- “What part of the shape will you count or measure?”
- “Where will you start?”
- “How will you know when to stop?”
- “How can you check?”
Avoid prompts that reveal the answer, such as “There are four, right?” A leading prompt can produce a correct mark without showing independent understanding.
Four Fully Checked Worked Examples
The following are adult-created examples similar to the listed skills. They are not presented as transcriptions of the worksheet’s actual items.
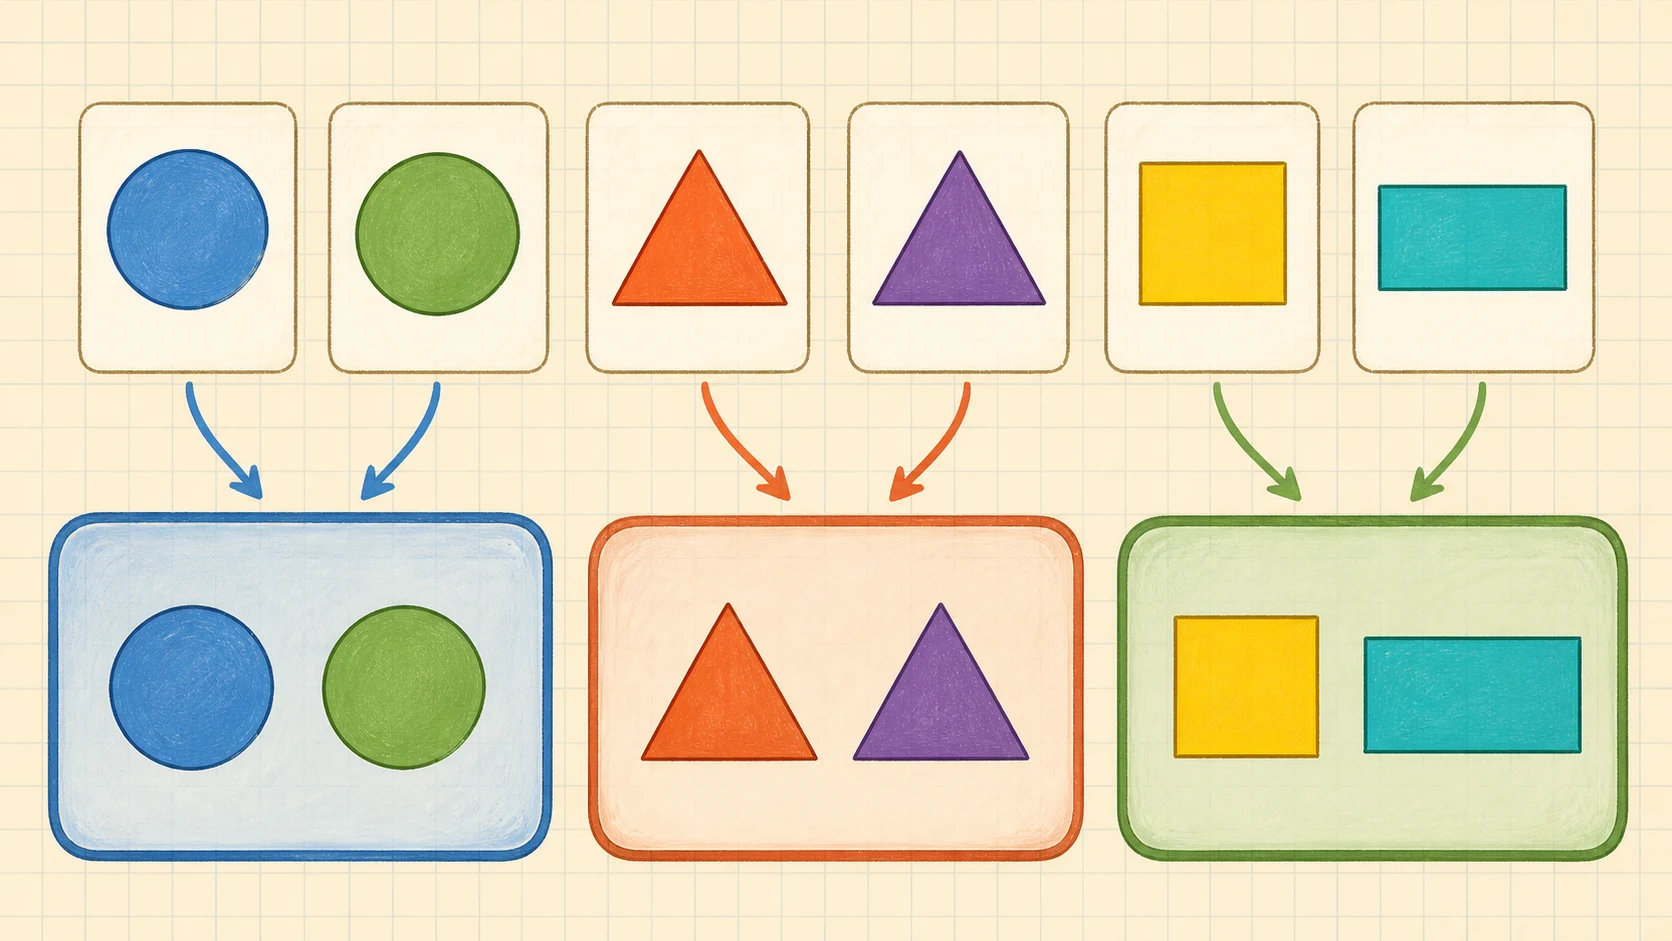
Use parallel examples to teach a method while preserving the printable’s items for practice.
Example 1: Identify a shape from its properties
Problem: A flat shape has three straight sides and three vertices. What is the shape?
Work:
- Count the stated sides: 3.
- Count the stated vertices: 3.
- A triangle has three straight sides joined to make a closed shape.
Answer: Triangle.
Check: Draw any closed three-sided figure, including one tilted to the side. Mark each side once and each vertex once. Both totals are three.
The orientation does not change the name. A triangle with no horizontal base is still a triangle. What matters in this example is the three-sided closed boundary, not whether the figure looks like a familiar “point-up” triangle.
Example 2: Count sides and vertices separately
Problem: How many sides and vertices does a rectangle have?
Work:
Start at the top edge and move clockwise:
- top side: 1;
- right side: 2;
- bottom side: 3;
- left side: 4.
Now count the meeting points:
- top-left vertex: 1;
- top-right vertex: 2;
- bottom-right vertex: 3;
- bottom-left vertex: 4.
Answer: 4 sides and 4 vertices.
Check: Put a short line on every side and a dot on every vertex. There should be four line marks and four dots, with no part marked twice.
A learner may notice that the totals match. That is true for this rectangle, but the words still describe different features. A side is an edge; a vertex is a point where sides meet.
Example 3: Find perimeter by adding all outer sides
Problem: A rectangle has side lengths of 3 units, 2 units, 3 units, and 2 units. What is its perimeter?
Work:
Perimeter means the total distance around the outside.
Answer: 10 units.
Check: Group equal sides:
Both methods give 10 units. A learner who writes 6 may have multiplied , which finds the area of this rectangle in square units rather than its perimeter.
Example 4: Find area by counting equal square units
Problem: A rectangle is completely covered by 3 rows of 2 equal square tiles. What is its area?
Work:
Count by rows:
There are 6 equal squares covering the inside with no gaps and no overlaps.
Answer: 6 square units.
Check: Count by columns instead. There are 2 columns with 3 squares in each:
Both counts give 6 square units. The word “square” matters because area describes two-dimensional covering units, not the length of the outside boundary.
These examples verify the calculations, but they do not establish that a Kindergarten learner must use symbolic equations independently. If the printed problem provides pictures, pointing, marking, or counting tiles may be the more appropriate evidence of understanding.
Guided Practice on the Printable
Begin with a few worksheet items that closely resemble the skill you modeled. If the page mixes skill types, choose one accessible item from each relevant type rather than automatically working from top to bottom.
For the first guided item, ask the learner to explain what must be found. Offer only enough help to begin. On the next item, wait several seconds before prompting. On the third, ask the learner to complete the routine independently and then explain the check.
Useful adult language includes:
- “Show me the side you counted first.”
- “Touch each vertex once.”
- “Trace the part called the perimeter.”
- “Are you counting around or covering inside?”
- “What does your number count?”
- “What unit belongs with that answer?”
Mathematical language should clarify action. Introduce “vertex” alongside “corner” if needed: “This corner point is called a vertex; more than one are vertices.” Do not require polished vocabulary before allowing the child to demonstrate the idea physically.
Record brief observations rather than writing only correct or incorrect. Examples include “names circle and triangle,” “double-counts starting vertex,” “finds perimeter after tracing,” or “counts area tiles accurately when rows are marked.” Such notes are more useful for planning than a single percentage.
Shift to Independent Work Carefully
Independent practice begins when the learner can state what to do and carry out the routine without an answer-revealing prompt. It does not require complete speed or perfect handwriting.
Give a small set—perhaps four items—then check. Say, “Try these on your own. If you get stuck, circle the item and move to the next one.” This preserves information about what the learner can do without assistance.
During independent work:
- do not correct each mark immediately;
- notice whether the learner tracks features systematically;
- distinguish a slow, careful method from genuine confusion;
- allow concrete materials if they support the same skill;
- stop if the response pattern becomes random.
A counter, tracing finger, or tile does not change the target skill when it helps the learner identify, count, or measure the intended geometric feature. Supplying the correct shape name, drawing all counting marks in advance, or completing the addition would change how much of the task the learner performs.
If several answers are correct, ask for an explanation on one representative item rather than interrogating every response. If several are incorrect, pause the independent set and return to a parallel example.
Adapt Support Without Changing the Skill
Differentiation should alter access, pacing, or response format while preserving the mathematical decision. The learner should still identify the shape or property, count the relevant features, or determine the requested measure.
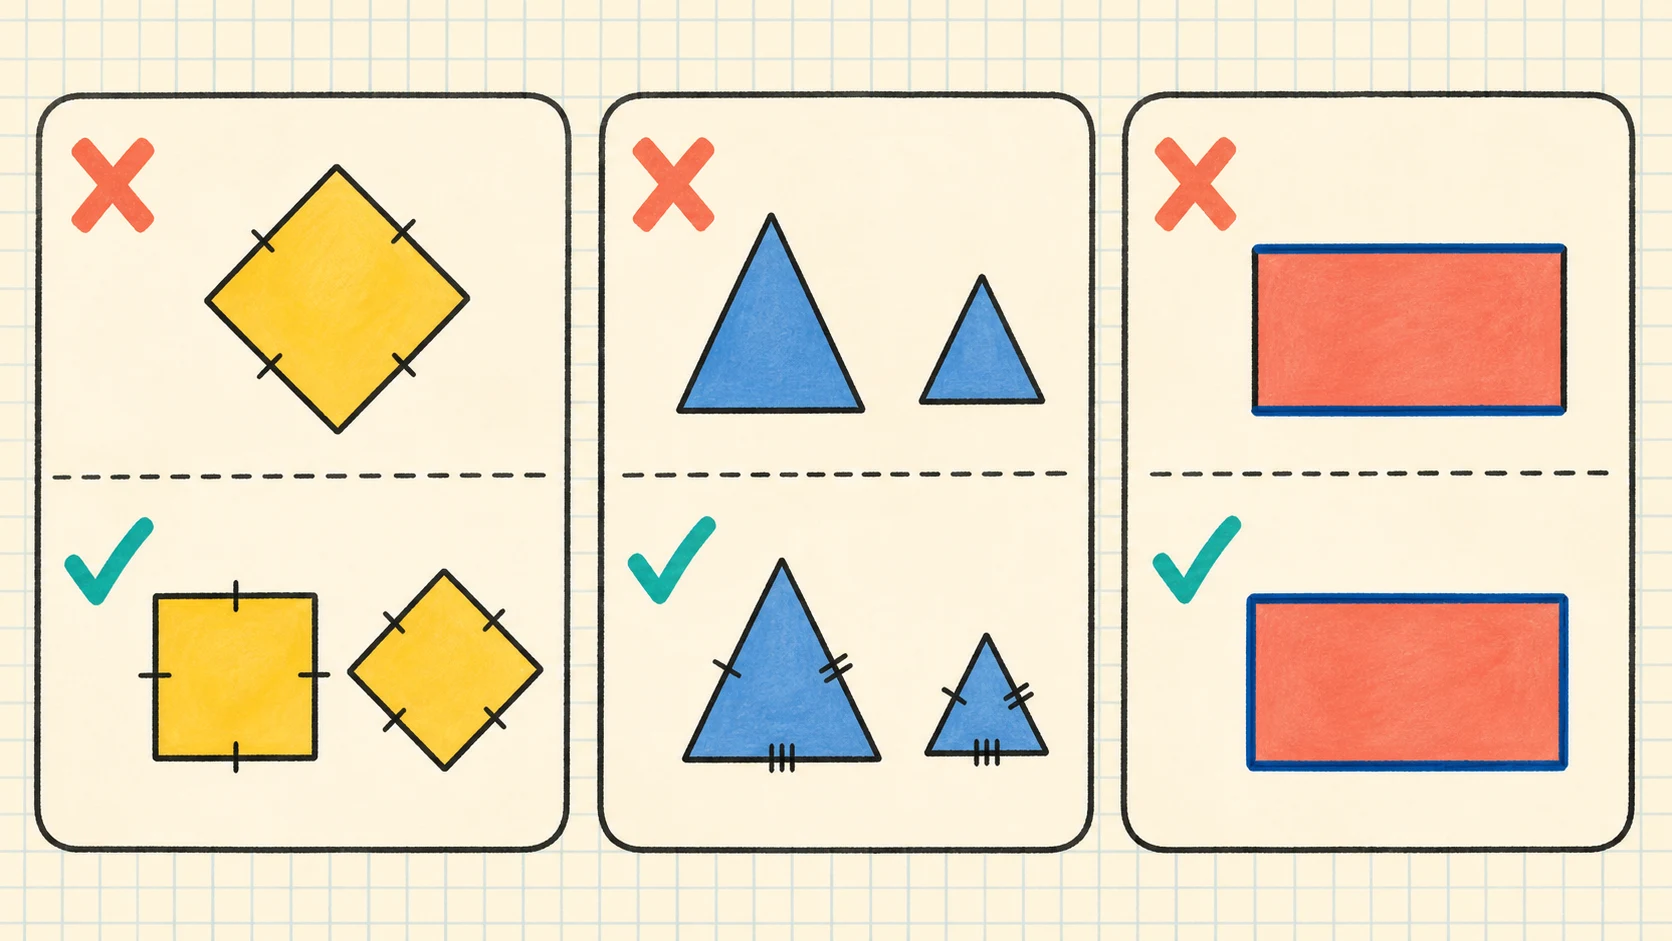
Change the support around the task while keeping the geometric thinking intact.
When visual tracking is difficult
Enlarge the page if practical. Let the learner mark each side with a short line or place a dot on each vertex. Cover nearby problems with blank paper so only one item is visible. Ask the learner to count in one direction and mark the starting point.
Do not redraw the figure into a more familiar orientation unless you also return to the original orientation. Recognizing a shape should not depend on its being upright.
When mathematical vocabulary is the obstacle
Pair each term with a consistent action:
- side: slide a finger along an edge;
- vertex: tap the meeting point;
- perimeter: trace all the way around;
- area: sweep a hand across or cover the inside.
Accept a demonstration before requesting the exact word. Then restate the child’s idea precisely: “Yes, you traced around the outside. That outside distance is the perimeter.”
When counting or addition is the obstacle
Keep the geometry target visible. For perimeter, write each outer side length in a list as the learner traces it. Permit counters to represent the lengths being combined. For area, use equal square tiles arranged to match a pictured array when possible.
If the learner can identify which quantities belong in the calculation but cannot yet combine them accurately, note those as two separate observations. Do not conclude that the geometric idea is absent solely because an arithmetic step is unfinished.
When the learner is ready for more explanation
Ask for comparison rather than assigning many more repetitions:
- “How are a square and rectangle alike?”
- “How are perimeter and area different?”
- “Would turning this shape change its number of sides?”
- “Can two different-looking triangles both have three sides?”
These are instructional extensions. They should follow successful work and should not be treated as hidden requirements for completing the printable.
Interpret Errors Before Correcting Them
An incorrect answer is evidence, but its meaning depends on the learner’s method. Ask the learner to show what was counted or traced before explaining the correction.
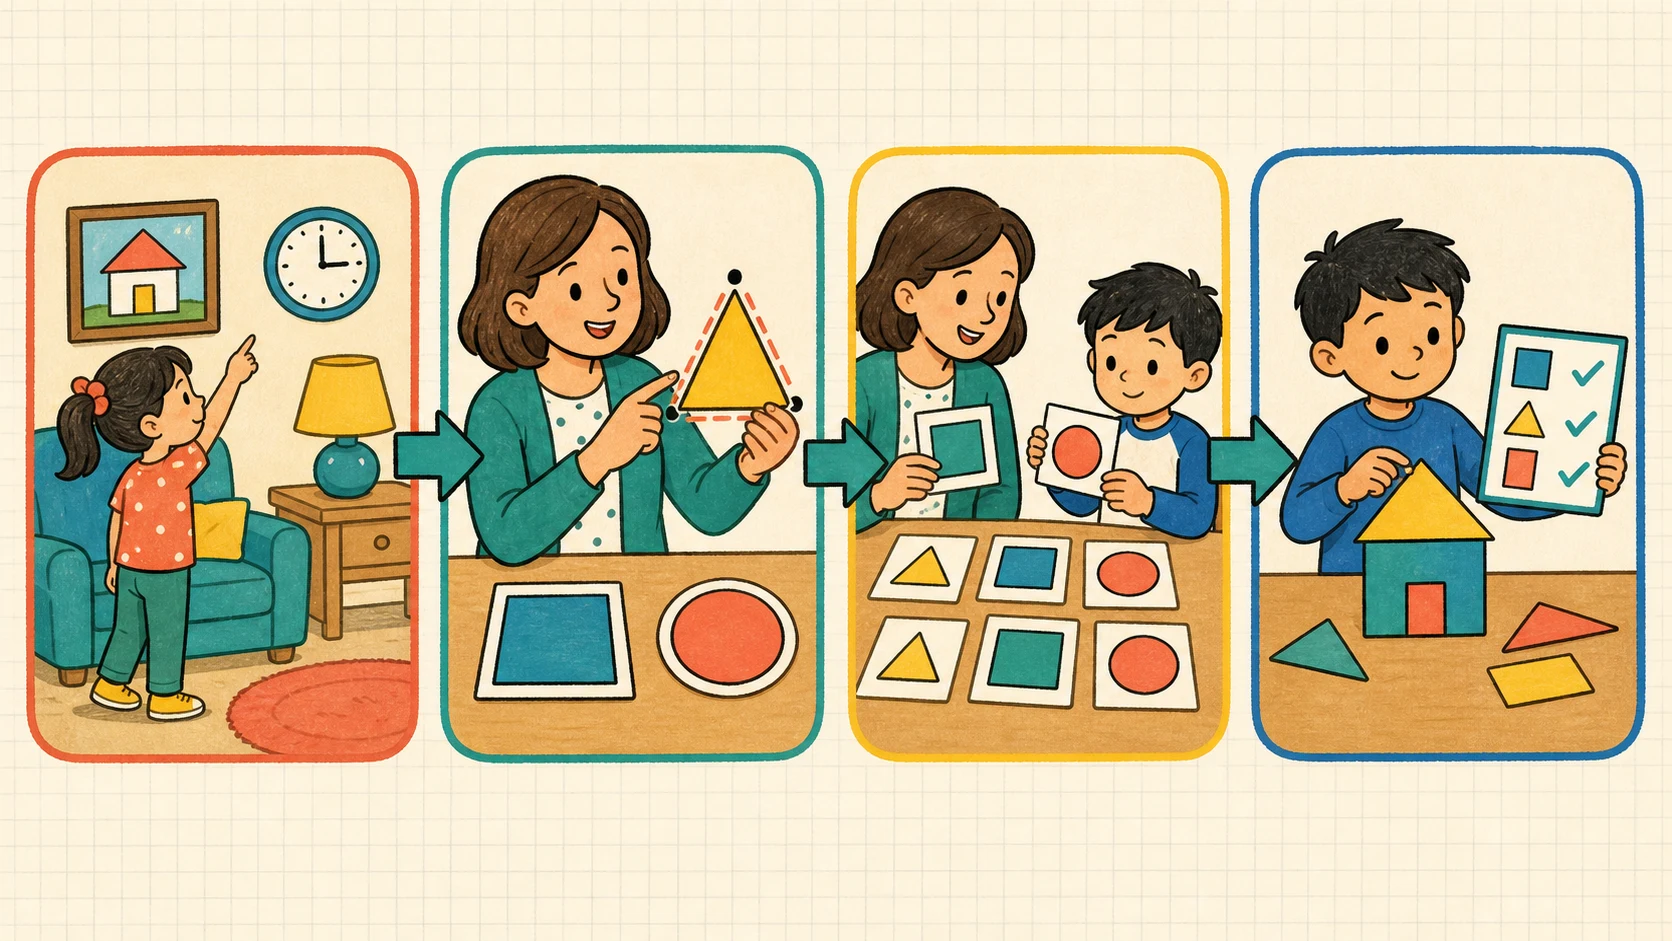
Locate the decision that went wrong, repair it with a parallel example, and then revisit the original item.
| Observed response | Possible interpretation | Useful check | Focused response |
|---|---|---|---|
| Misnames a rotated shape | Relies on a familiar orientation | Rotate a paper version without changing its sides | Count properties while turning the shape |
| Counts one side twice | Loses the starting point | Ask where counting began and ended | Mark the first side and move one direction |
| Calls a side a corner | Vocabulary is not yet separated | Ask the learner to trace, then tap | Pair each term with its physical action |
| Uses only two side lengths for perimeter | Assumes only visible or different lengths count | Trace the entire boundary | Record all outer lengths before adding |
| Multiplies side lengths for every measure | Confuses area and perimeter | Ask “around or inside?” | Contrast boundary tracing with tile covering |
| Counts grid lines instead of square spaces | Treats boundaries as area units | Place one counter in each square region | Count covered squares, not separating lines |
| Gives a number without a unit | Calculation is present but quantity is unclear | Ask what the number counts | Add “units” or “square units” as appropriate |
Do not assign a label such as “careless” from one response. A missed side may come from tracking difficulty, an unfamiliar figure, or a momentary skip. Look for a repeated pattern across comparable items.
Boundary cases to handle explicitly
A circle can create vocabulary confusion. In elementary materials, it is ordinarily distinguished from polygons because it has no straight sides or vertices. Follow the wording and definitions used on the printed worksheet and in the learner’s curriculum rather than starting an advanced debate about curved boundaries.
A square and a rectangle can also produce apparently conflicting answers. Under property-based classification, a square satisfies the defining properties of a rectangle because it has four right angles. Some early materials present the names as separate visual categories before introducing inclusive classification. Check the exact task: “Name the most specific shape shown” and “Is this also a rectangle?” are different questions.
For area, count only equal-size units that cover the region without gaps or overlaps. A picture containing six unequal pieces does not by itself establish an area of six square units. For perimeter, every outer segment must be included; an internal line is not part of the outside boundary unless the problem defines a different path.
Use the Answer Key Responsibly
The separate printable answer key is for checking after the learner has attempted the selected items. It can confirm expected responses, but it cannot explain the learner’s reasoning or identify why an error occurred.
Use this sequence:
- Review the learner’s visible work before opening the key.
- Predict which answers need closer inspection.
- Compare one item at a time.
- Recalculate perimeter and area answers independently.
- Verify that the learner answered the quantity requested.
- Mark items for discussion rather than immediately replacing answers.
- Ask the learner to correct one representative error using the appropriate routine.
For shape identification, compare the printed figure and prompt carefully. For sides and vertices, count directly. For perimeter, add every outside length yourself. For area, count equal square units or verify the represented rows and columns. If your checked calculation conflicts with the key, do not teach the keyed answer automatically; inspect the diagram, labels, units, and wording again.
A correction is most useful when the learner can explain the change: “I counted the first vertex twice, so I marked my starting point and counted again.” Simply copying the answer provides little evidence of learning.
Decide What Comes Next
Group the learner’s results by skill rather than relying only on a total score.
- If shape names are uncertain, return to sorting, tracing, and naming shapes in varied orientations.
- If names are secure but properties are not, compare shapes by sides and vertices.
- If perimeter is confused with area, contrast one boundary-tracing example with one tile-covering example.
- If the geometric setup is correct but arithmetic breaks down, preserve the setup and support the calculation separately.
- If work is accurate and explanations are clear, use a few mixed examples later instead of immediately assigning another full page.
The Kindergarten Math worksheet collection can help you select related practice, while the broader Kindergarten worksheet hub provides work across subjects. For a larger geometry set, the Kindergarten Geometry Worksheet Pack contains 18 worksheets and is listed at $4.79. More volume is useful only when it matches an identified need.
This printable has clear limits. Twenty items can sample performance on the listed skills, but they cannot establish complete geometry understanding, diagnose a learning difficulty, or show how reliably a learner transfers ideas to unfamiliar settings. The standard theme also cannot replace hands-on experience with shapes and equal-size units. Seek guidance from the learner’s teacher or curriculum provider when worksheet performance conflicts with other classroom evidence or when you need to understand the local instructional sequence.
Schedule Retrieval Instead of One-Time Completion
Retrieval means asking the learner to recall and use a method after some time has passed. A practical schedule can be brief and flexible.
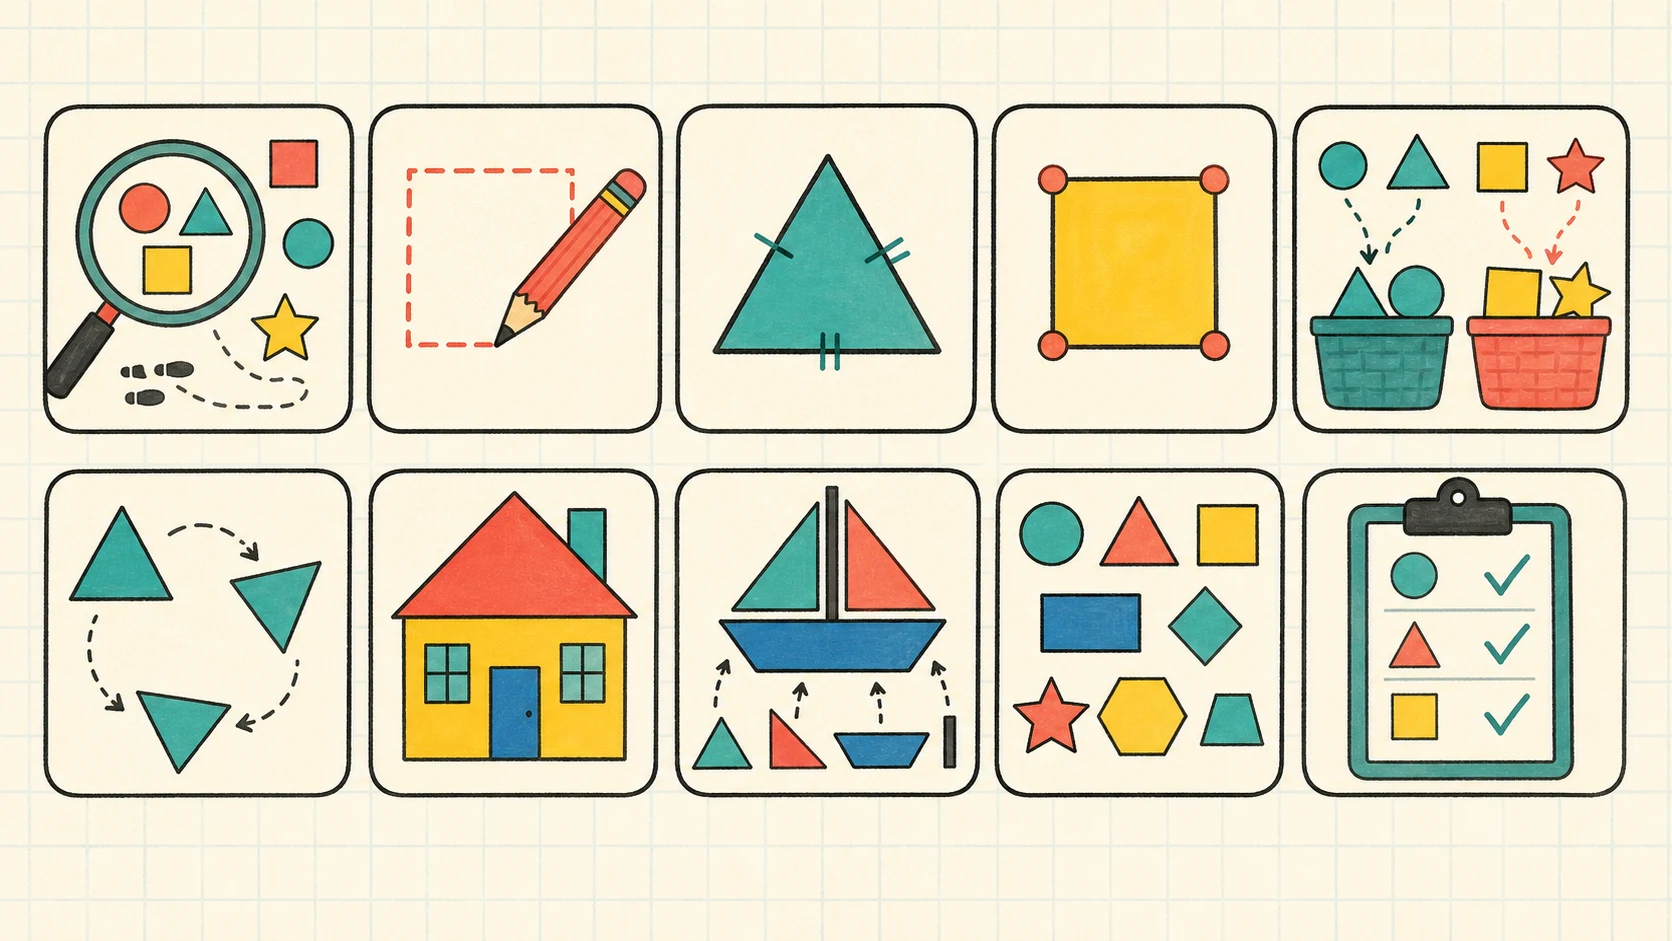
Revisit a small mix of skills after delays, changing the timing when the learner’s work indicates a different need.
| Time | Suggested review | Decision |
|---|---|---|
| Later the same day or next session | Name two shapes and identify one side and one vertex | Reteach vocabulary only if it blocks the action |
| About 2–3 days later | Solve one property item and one perimeter-or-area item | Compare independent method with the original work |
| About 1 week later | Complete three mixed parallel examples | Look for retention across different diagrams |
| About 2 weeks later | Use a new geometry worksheet or hands-on task | Check whether the learner transfers the method |
This is a suggested plan, not a universal timetable. Shorten the interval when the method disappears quickly. Lengthen it when recall is accurate and explanations remain clear. Avoid repeating corrected answers from memory alone; change the drawing, measurements, or orientation while keeping the same skill.
The honest next step is to revisit only the skill that the learner’s work identifies. Open the Kindergarten Geometry topic guide to choose that next focus, or use the free worksheet generators to create fresh practice rather than immediately repeating the same 20 answers.
Put it into practice
Use the guide with a real printable
Move from explanation to a short, observable practice task. Check the first item together, then adjust the next session from the learner's actual work.
See the 18-worksheet pack