Complete guide
How to teach and practise 4th grade geometry worksheets - standard theme (easy)
A focused lesson for this 25-item geometry worksheet
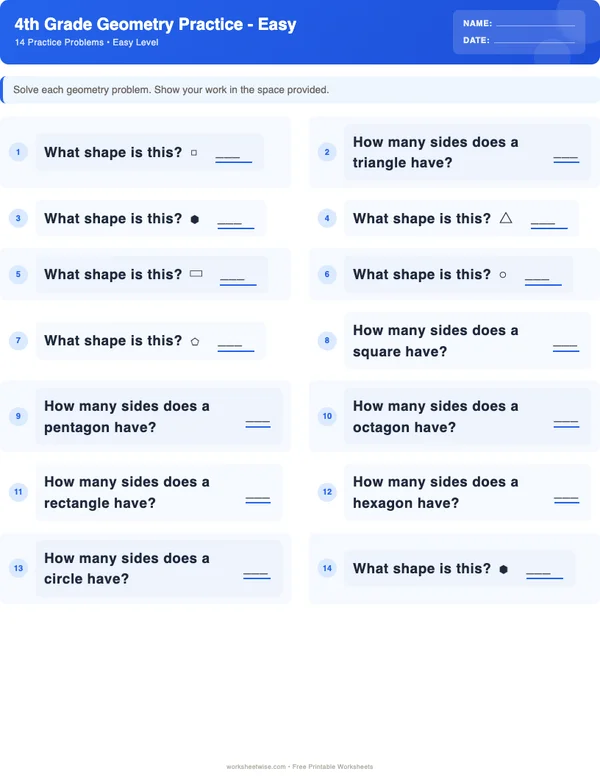
The free 4th Grade Geometry worksheet gives a learner 25 easy-level exercises on identifying shapes, counting sides and vertices, recognizing geometric properties, and calculating perimeter and area. Use it as a short teaching sequence rather than a one-sitting test: preview a few items, model one example, solve several together, assign a manageable independent set, and revisit selected problems later.
The worksheet directions are simple: solve each geometry problem and show work in the space provided. A separate printable answer key is included. Before beginning, have the learner explain the difference between a shape’s name, its boundary, and the space inside it. That brief conversation can reveal whether the learner is ready to work independently or needs concrete examples first.
Grade labels describe the intended practice level; local school, district, state, and homeschool sequences differ. The broader 4th Grade Geometry topic guide provides the surrounding progression. This guide stays focused on launching, teaching, checking, and revisiting this exact printable.
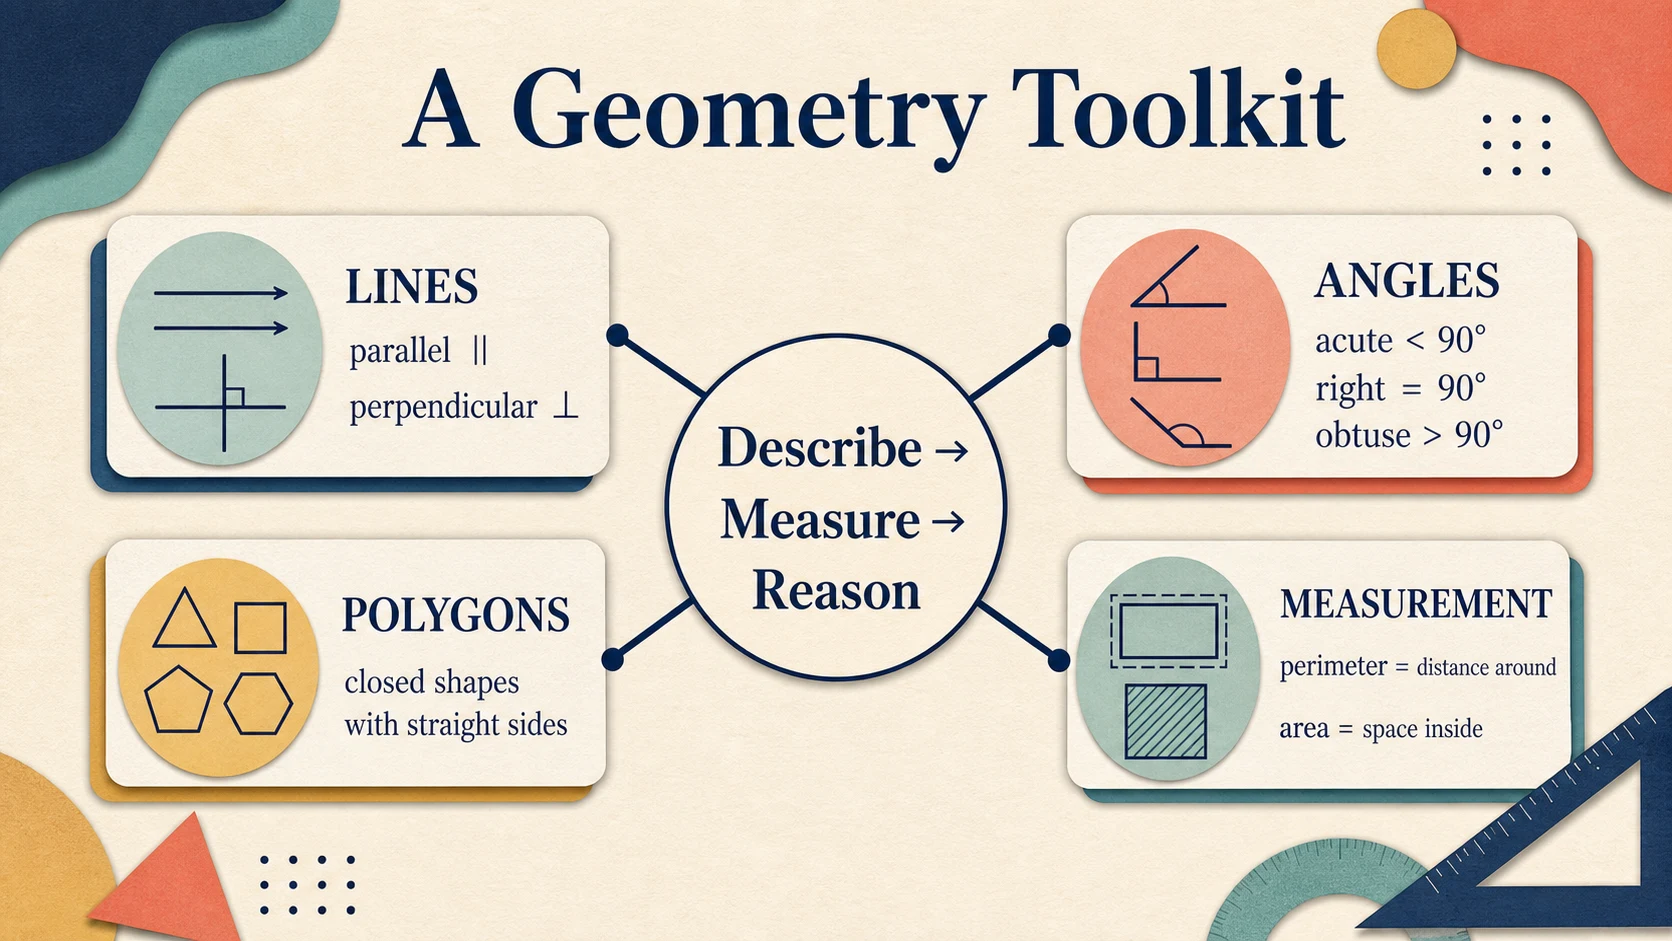
Preview, model, practice together, release responsibility, and return to selected items later.
Prepare the worksheet without overloading the learner
Print the worksheet and keep the answer key separate. Gather a pencil, eraser, ruler, several small square objects or paper tiles, and optional colored pencils. A ruler can help a learner track along a shape’s sides even when no measurement is required. Square tiles are useful for distinguishing the space inside a figure from the distance around it.
Do not begin by explaining every geometry term that might appear in fourth grade. First scan the printable and identify the knowledge actually needed for its 25 exercises. The catalogue describes four relevant areas:
- Shapes
- Perimeter
- Area
- Geometric properties
It also specifies practice with identifying shapes and counting sides and vertices. Focus the opening review on those ideas. For a wider treatment of shapes, angles, lines, and later geometry work, use the topic guide instead of trying to fit an entire geometry sequence into this lesson.
Use a brief readiness check
Draw or point to a familiar polygon, such as a rectangle, without naming it. Ask the learner to tell you:
- What features they notice
- How many straight sides it has
- How many vertices, or corner points, it has
- How they would find the distance around it
- How they would find the amount of flat space inside it
Listen before correcting. A learner who counts the sides accurately but cannot name the shape may need vocabulary support. A learner who knows the name but confuses area with perimeter needs a contrast between the two measures. A learner who can explain both calculations may be ready for a shorter modeled phase.
The learner’s observed work should determine pacing. There is no universal timetable for completing the page.
Follow a clear lesson progression
The sequence below can be completed in one lesson or divided across several shorter sessions. The item ranges are practical suggestions, not claims about how the worksheet itself is internally ordered. Preview the printed page and adjust the ranges if different skills are mixed together.
| Phase | Suggested use of the 25 items | Adult’s role | Evidence to watch |
|---|---|---|---|
| Preview | Scan all items without solving | Identify symbols, diagrams, and needed terms | Learner can state what each item is asking |
| Model | Select 1 suitable item | Think aloud and record organized work | Learner can retell the method |
| Guided practice | Select 3–5 items | Prompt, question, and gradually reduce help | Learner makes the next step without being told |
| Independent practice | Assign 6–10 items | Observe quietly and note strategies | Work is accurate and explanations match the figures |
| Check and revise | Review completed items | Compare reasoning before using the key | Learner can locate and correct an error |
| Continue | Assign remaining suitable items | Adjust quantity and support | Accuracy and independence remain stable |
| Retrieval | Revisit 2–4 selected items later | Mix old and new examples | Learner recalls the method after a delay |
This structure is consistent with the high-level instructional emphasis in the IES practice guide on teaching mathematics to young children, which discusses purposeful instruction, mathematical language, and attention to learners’ developing knowledge. That source did not evaluate WorksheetWise or this printable.
Preview mathematical language
Clarify only the terms needed for the page:
- A side is a straight segment forming part of a flat shape’s boundary.
- A vertex is a point where two sides meet. The plural is vertices.
- Perimeter is the total distance around a figure.
- Area is the amount of flat space inside a figure, measured in square units.
- A geometric property is a feature used to describe or classify a shape, such as its number of sides or vertices.
Have the learner point while speaking. For example, they can trace each side of a rectangle and pause at each vertex. This connects the word to the visible feature and reduces errors caused by imprecise counting.
Model one complete solution before independent work
Choose an item that represents a central skill but is not the hardest-looking problem on the page. Cover nearby items if the full sheet is visually distracting. Read the prompt, inspect the figure, name the required result, solve, and check.
Use a think-aloud that is brief enough to imitate:
- “I need to find the perimeter.”
- “Perimeter means the distance around the outside.”
- “I will include every side once.”
- “I will write the side lengths in an addition expression.”
- “I will calculate and include the correct unit.”
- “I will trace the boundary again to check that no side was missed.”
Avoid turning the think-aloud into a speech the learner must memorize. The purpose is to expose a reliable decision process.
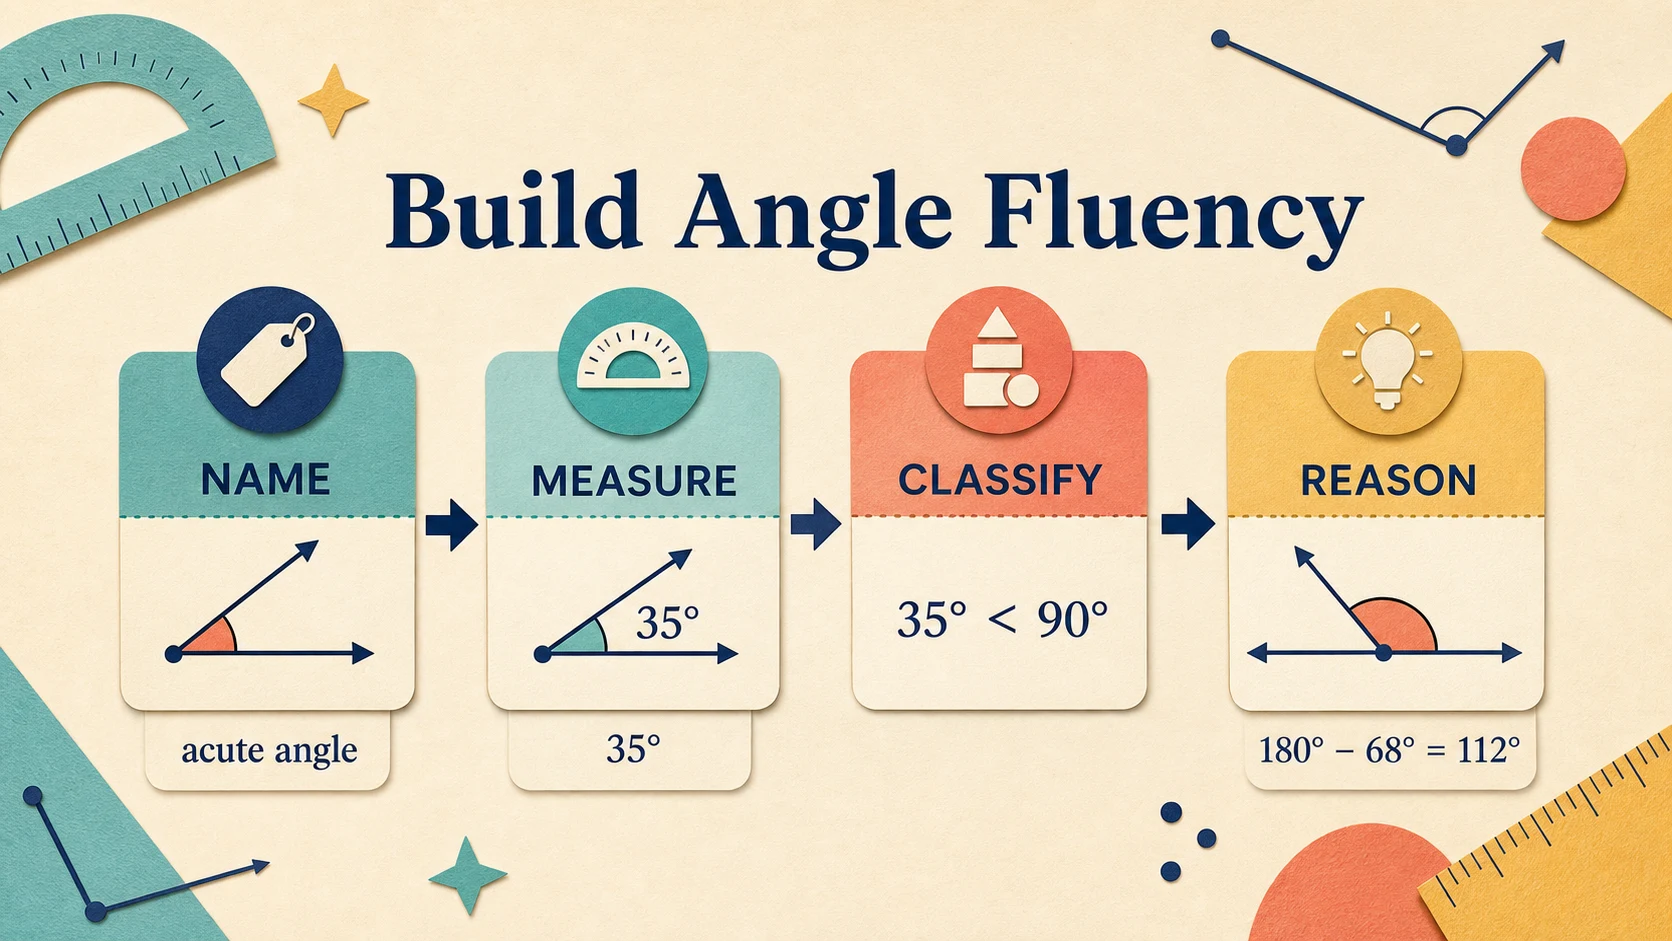
Model the decision and the written work, then ask the learner to explain the method in their own words.
Keep the representation tied to the skill
For perimeter, trace the outer boundary with a finger or colored pencil. For area, shade or cover the inside with equal square units. For identifying a shape, count and mark its sides and vertices before choosing a name.
These supports make the relevant feature visible without changing the mathematical task. The learner is still identifying, counting, classifying, or calculating.
The IES guide for assisting students who struggle with mathematics offers high-level guidance about systematic instruction, clear mathematical language, representations, and cumulative review. Use those ideas as instructional framing, not as evidence that one specific prompt or schedule will work for every learner.
Work through fully checked examples
The examples below are similar to the worksheet’s stated skills. They are not presented as copies of its actual items. Use them to model reasoning, create an extra practice card, or clarify a misconception before returning to the printable.
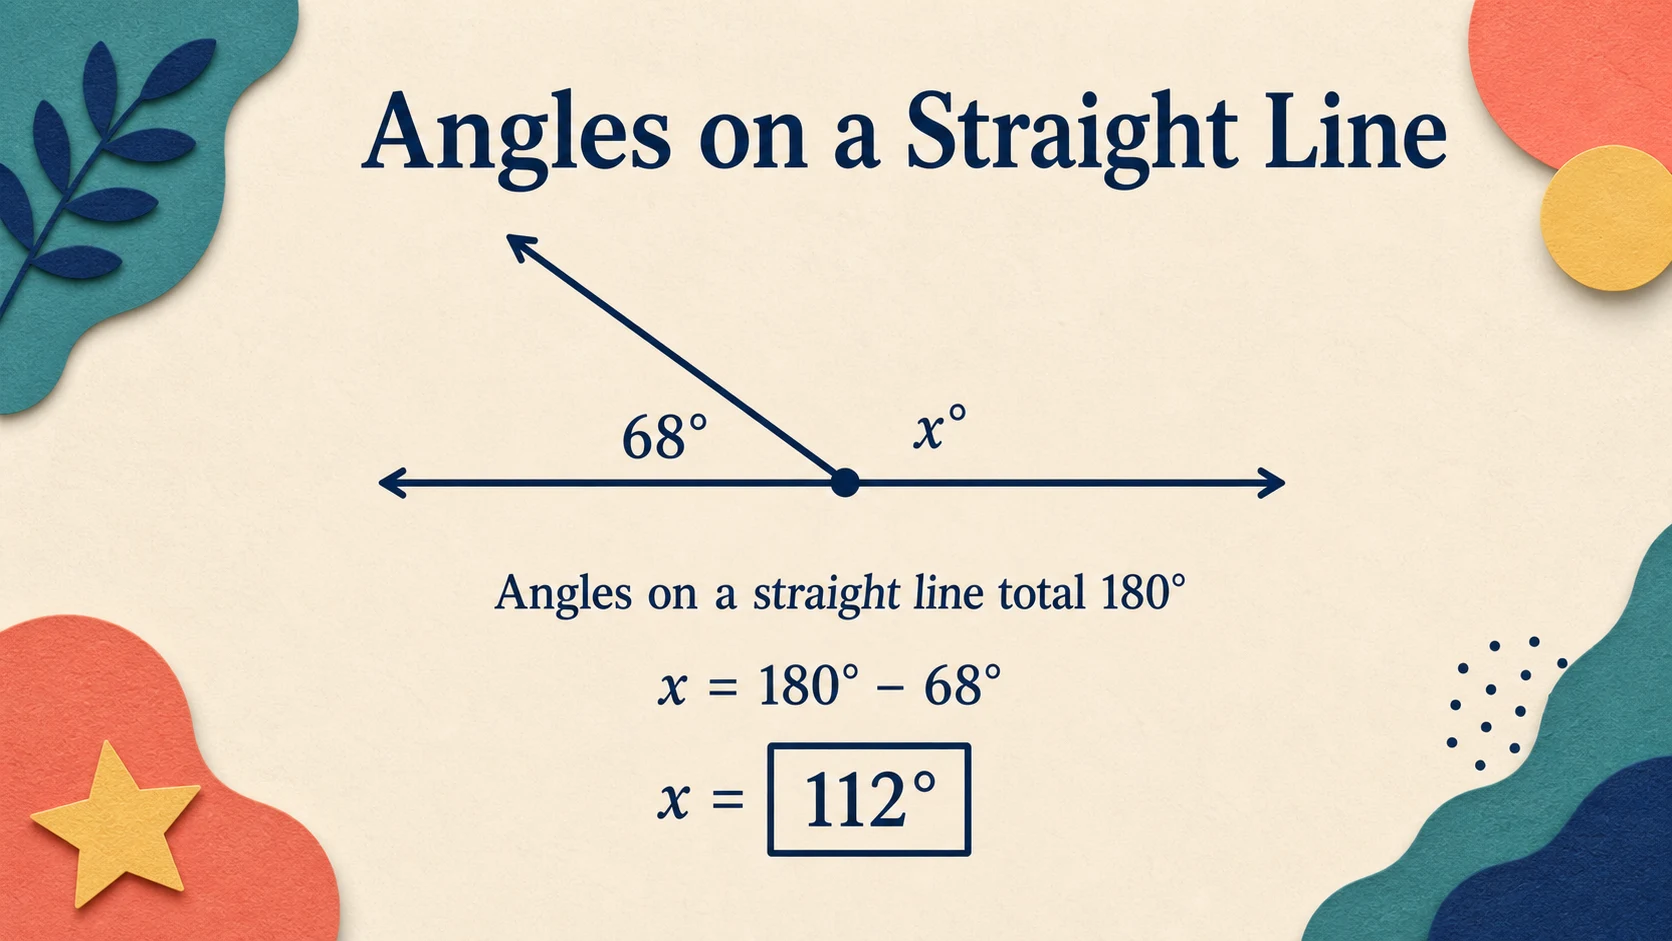
Show the feature being counted or measured, record the operation, and check the result against the figure.
Example 1: Count sides and vertices
Problem: A flat shape has five straight sides. How many vertices does it have, and what is the shape called?
Work:
Trace each side once and label them 1 through 5. Then mark each point where two neighboring sides meet.
- Sides: 5
- Vertices: 5
- Shape name: pentagon
Checked answer: The figure has 5 vertices and is a pentagon.
Check: Walking once around a closed five-sided polygon passes five sides and five meeting points. A side and a vertex should not be counted as the same feature.
Example 2: Identify a rectangle by properties
Problem: A quadrilateral has four right-angle corners. Its opposite sides are equal in length. Identify the shape and state its numbers of sides and vertices.
Work:
- It is closed.
- It has 4 straight sides, so it is a quadrilateral.
- It has 4 right-angle corners.
- Its opposite sides have equal lengths.
Checked answer: The shape is a rectangle with 4 sides and 4 vertices.
Check: Count the boundary segments and corner points separately. Rotating the drawing does not change these properties; a tilted rectangle is still a rectangle.
Example 3: Find perimeter when all side lengths are shown
Problem: A rectangle is 7 centimeters long and 4 centimeters wide. Find its perimeter.
Work:
A rectangle has two sides of each length.
A second valid calculation is:
Checked answer: The perimeter is 22 centimeters.
Check: Trace all four sides: 7, 4, 7, and 4. The answer uses centimeters because perimeter measures length, not square centimeters.
Example 4: Find area from rows and columns
Problem: A rectangle contains 3 rows of 6 equal unit squares. Find its area.
Work:
Each of the 3 rows contains 6 squares.
Checked answer: The area is 18 square units.
Check: Recount by columns: there are 6 columns of 3 squares.
Both arrangements count the same 18 unit squares.
Example 5: Contrast area and perimeter
Problem: A rectangle is 5 units long and 2 units wide. Find both its area and perimeter.
Area work:
Area is 10 square units.
Perimeter work:
Perimeter is 14 units.
Check: Area counts or calculates the space inside. Perimeter totals the outside boundary. The numerical answers happen to be different here, but the more important difference is what each number measures.
Example 6: A boundary case with equal numerical answers
Problem: A square has side length 4 units. Find its area and perimeter.
Area:
Perimeter:
Checked answer: The area is 16 square units, and the perimeter is 16 units.
The two numerical values are equal, but the measurements are not interchangeable. One describes covered space; the other describes boundary length. The unit labels preserve that distinction.
Move from guided to independent practice
During guided practice, ask prompts that direct attention without supplying the result:
- “What is the problem asking you to find?”
- “Which part of the figure represents that?”
- “Where will you begin counting?”
- “How will you avoid counting a side twice?”
- “Which operation matches your drawing?”
- “What unit belongs with the answer?”
- “How could you check it another way?”
After one correct guided item, do not immediately assume independence. Select another example with a different orientation, size, or arrangement. A learner who recognizes only a horizontal rectangle may be attending to appearance rather than properties.
Reduce assistance in stages. First, model. Next, solve collaboratively. Then have the learner explain while solving. Finally, watch them complete an item without prompting. If the independent solution remains accurate and organized, assign a short set rather than the entire remainder automatically.
Define what “show your work” can look like
The worksheet asks learners to show work in the provided space. Accept forms of work that reveal the method:
- Numbered sides or vertices
- Tick marks showing counted features
- A perimeter addition expression
- A multiplication expression for rectangular area
- Rows and columns labeled on a grid
- A short property statement used to identify a shape
- Units written beside the final answer
A correct answer with no visible reasoning may be difficult to diagnose. Conversely, extensive writing is unnecessary when a concise diagram or equation demonstrates sound reasoning.
Adapt support while preserving the geometry
Support should reduce an avoidable barrier without replacing the intended skill. If the target is perimeter, for example, do not turn every problem into simple addition detached from a figure. Keep the boundary visible and keep the learner responsible for selecting the relevant side lengths.
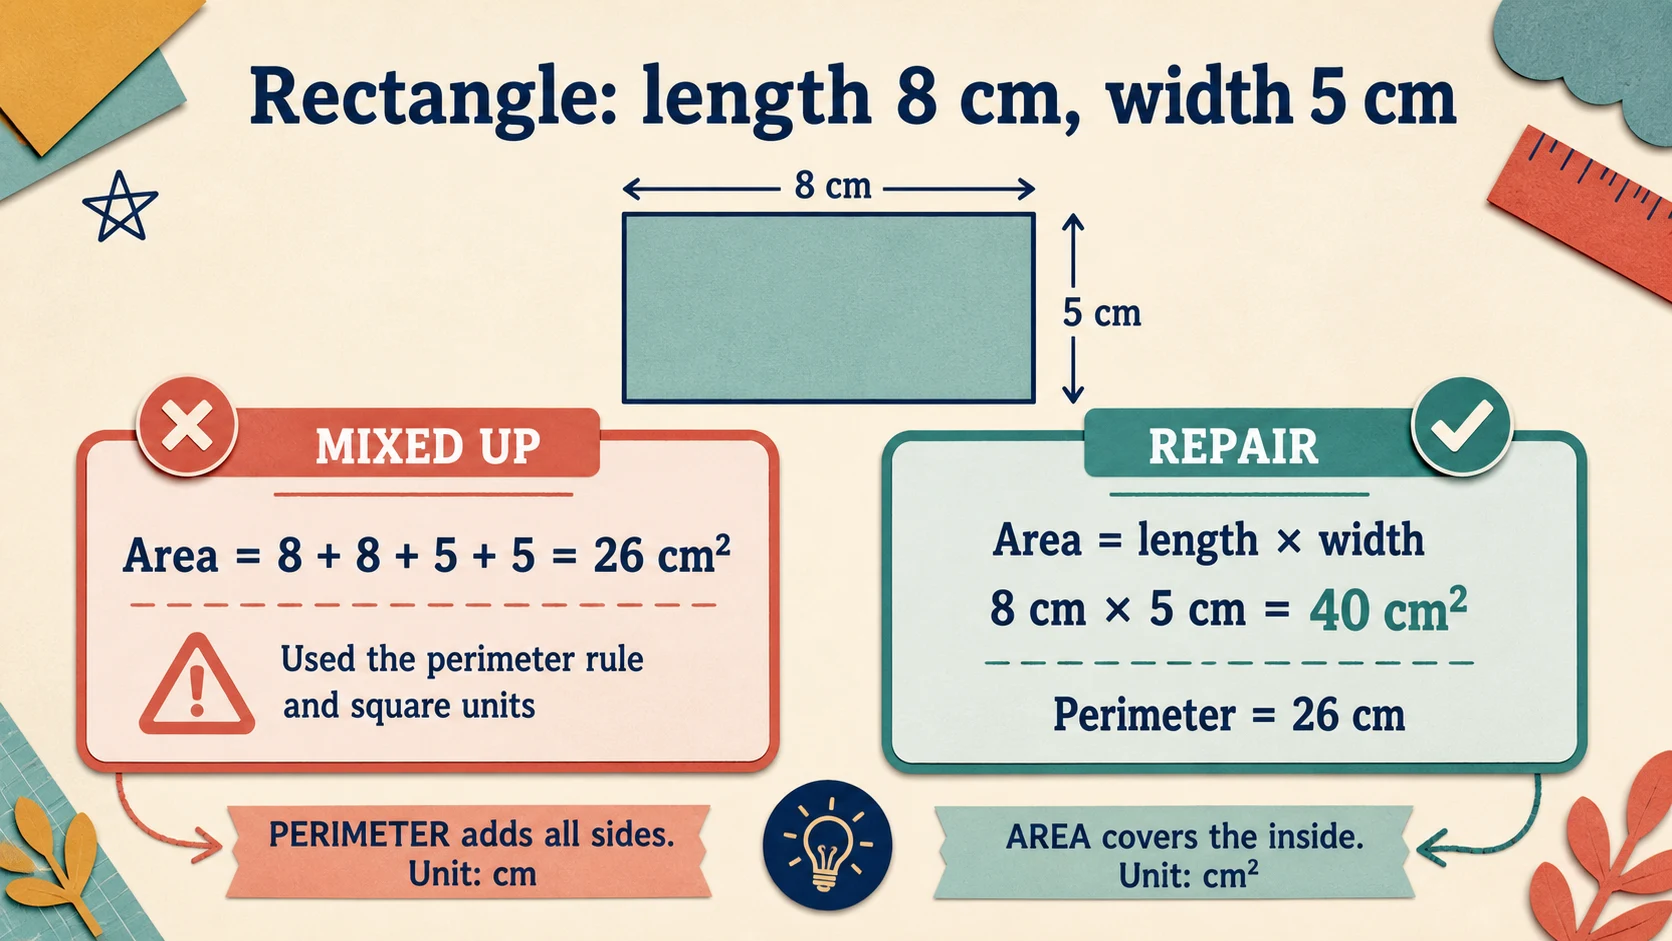
Adjust presentation, representation, or response demands while keeping the same geometric decision.
For a learner who needs more structure
Present five items at a time by folding the paper or covering unused sections. Read directions aloud if decoding the text interferes with showing geometry knowledge. Provide a small reference card:
- Perimeter = around
- Area = inside
- Side = boundary segment
- Vertex = meeting point
Allow the learner to trace a boundary, mark corners, or cover an area with equal paper squares. Prompt them to connect the concrete action to an equation.
For a learner who is nearly independent
Ask for a prediction before calculation: “Will the perimeter be more or less than 20 units?” A reasonable estimate can expose a skipped side or misplaced operation.
Remove support gradually. The learner might use a reference card for the first three items, turn it face down for the next three, and retrieve it only after making an honest attempt.
For a learner who finishes accurately
Ask for explanation and comparison rather than simply adding more of the same:
- Draw a different orientation of the identified shape.
- Explain why turning the shape does not change its name.
- Find two rectangles with an area of 12 square units and compare their perimeters.
- Create a perimeter problem and solve it two ways.
- Describe how the units reveal whether an answer represents area or perimeter.
These extensions preserve the worksheet’s geometry focus. For a larger collection of related practice, the catalogue includes an 18-worksheet 4th Grade Geometry Worksheet Pack. The pack is a next-resource option, not a requirement for completing this free worksheet.
Recognize boundary cases and common misconceptions
Some errors come from calculation. Others reveal a mistaken geometric idea. Treat the written answer as evidence about the learner’s current reasoning.
Shape orientation
A shape does not acquire a new name merely because it is tilted, made taller, or drawn in an unfamiliar color. Ask the learner to ignore orientation and inspect stable properties: number of straight sides, number of vertices, and relevant side or corner relationships.
Show the same rectangle upright and tilted. Count four sides and four vertices in both. If the learner changes the name after rotation, continue with varied orientations before returning to independent work.
Sides versus vertices
A learner may count each corner and report that number as the number of sides without understanding the distinction. Point to one side and move along it; then stop at the vertex. Repeat around the figure while alternating the words “side” and “vertex.”
If the figure is crowded, use two colors: one for boundary segments and one for meeting points. Remove the colors on the next item to see whether the distinction transfers.
Perimeter versus area
Common signs of confusion include multiplying side lengths for a perimeter problem, adding only length and width once, or writing square units for boundary distance.
Return to meaning before correcting the arithmetic:
- Trace around for perimeter.
- Cover the inside for area.
- Write length units for perimeter.
- Write square units for area.
A useful contrast is a 2-by-5 rectangle. Its area is 10 square units, while its perimeter is 14 units. Then use the 4-by-4 square boundary case, where both numerical answers are 16 but the units and meanings remain different.
Missing or duplicated sides
A learner may add only the two labeled dimensions of a rectangle:
That does not include the complete boundary. Have the learner begin at one vertex, trace all the way around, and say each side length. The corrected calculation is:
If a side length is inferred from the opposite side of a rectangle, ask the learner to label it on the drawing before calculating.
Correct arithmetic attached to the wrong model
A multiplication fact can be correct while the area model is wrong. For instance, a learner may write even though the pictured rectangle has 3 rows of 5 squares. Ask them to identify what each factor represents in the actual figure.
The goal is not merely to obtain a plausible number. The equation must describe the shown geometry.
Use the answer key as a checking tool
The separate printable answer key allows quick checking, but it should not replace inspection of the learner’s reasoning. First review the work without the key. Look for the chosen operation, counted features, labels, and units. Then compare the final answer with the key.
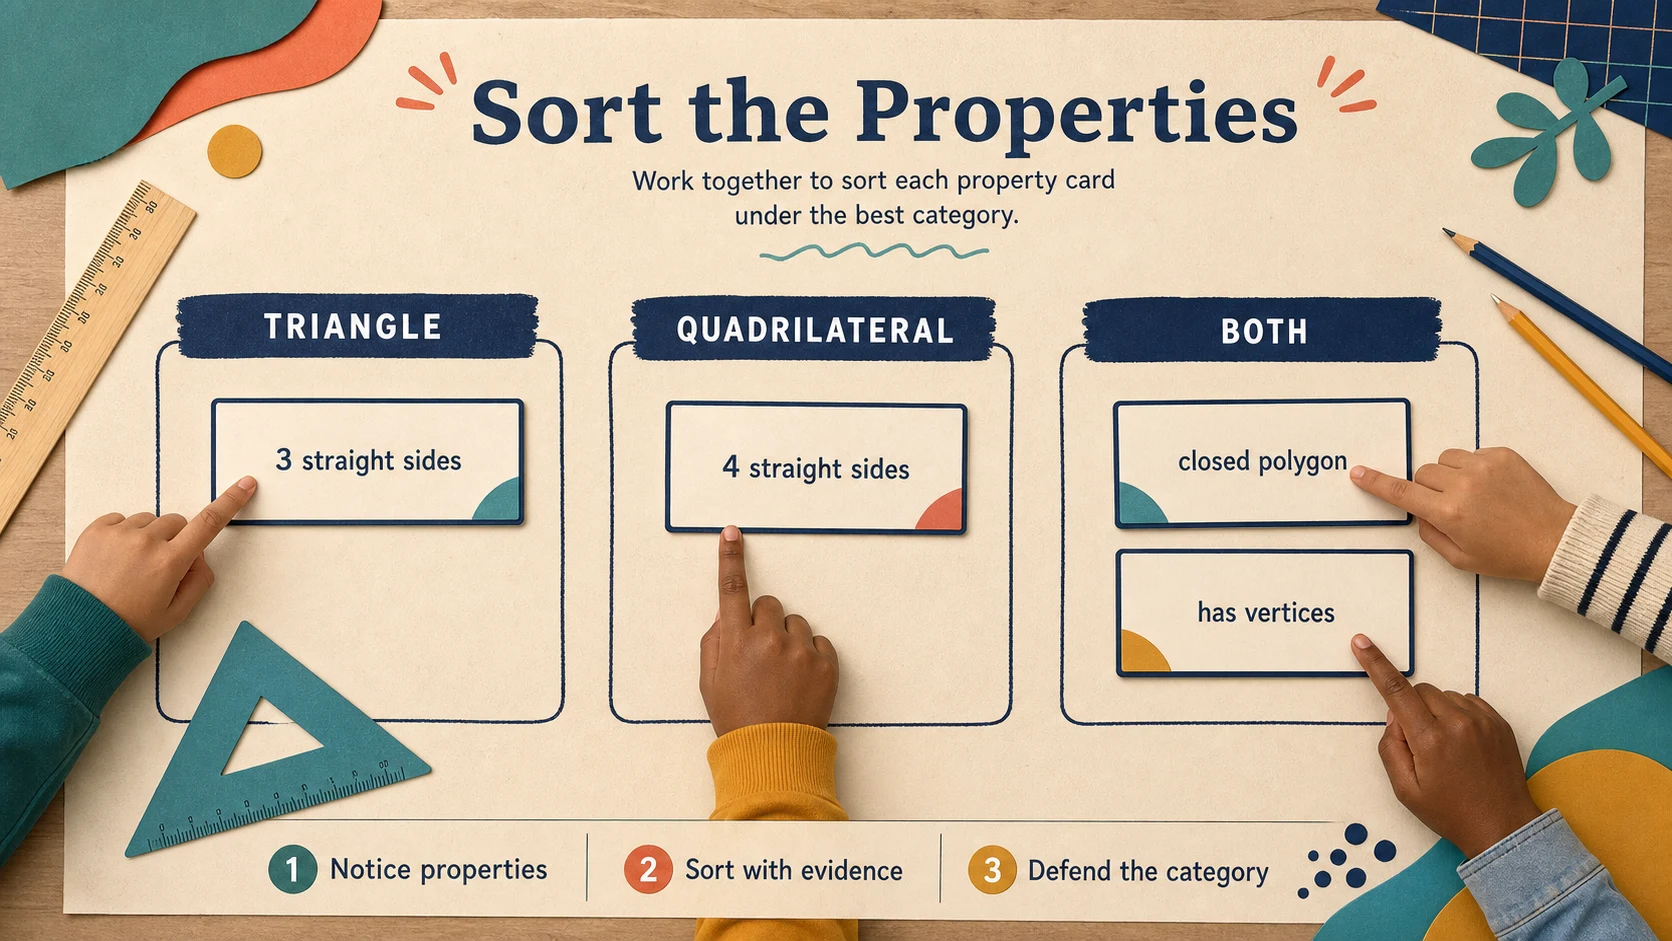
Identify the task, inspect the figure, verify the operation, check the units, and then compare with the key.
Use this routine for each mismatch:
- Cover the answer key.
- Reread the item.
- Name the requested quantity.
- Point to the relevant part of the figure.
- Recount or recalculate.
- Compare the revised result with the key.
- Explain what changed.
If the learner’s answer still differs, check whether the print is clear and whether the diagram or wording has been interpreted consistently. An answer key can confirm an expected result, but it does not show why a particular learner made an error.
The Common Core State Standards for Mathematics provides broader grade-level context for mathematical content and practices. Use it to understand the larger instructional landscape, not to claim that this individual printable has undergone external certification or comprehensive alignment review.
Sort errors before assigning more work
A simple error log can distinguish patterns:
| Error type | Example | Immediate response |
|---|---|---|
| Vocabulary | Confuses side and vertex | Point, trace, label, and retry |
| Visual counting | Skips one side | Mark a starting point and count once around |
| Concept selection | Finds area when perimeter is requested | Contrast inside with around |
| Representation | Equation does not match the diagram | Label what each number represents |
| Calculation | Correct method, arithmetic error | Recalculate and use a second method |
| Unit | Writes units instead of square units for area | Connect the label to what was measured |
| Independence | Correct only after repeated prompting | Return to one guided item, then fade prompts |
Do not treat every wrong answer as a need for more pages. Two carefully corrected examples may be more informative than twenty repeated errors.
Decide what the learner should do next
Use the completed work to choose the next instructional move.
If shape identification and feature counting are uncertain, revisit those items with varied orientations and concrete tracing. Delay more complex calculations until the learner can reliably describe what the figure contains.
If the learner identifies shapes accurately but confuses area and perimeter, teach the contrast directly. Build or draw rectangles, cover their interiors with square units, and trace their boundaries. Then return to two worksheet items—one area and one perimeter—without telling the learner which procedure to use.
If the method is correct but arithmetic errors occur, keep the geometry task and allow an organized calculation check. Do not replace the geometry lesson with a broad arithmetic review unless the observed work shows that arithmetic is consistently blocking progress.
If the learner completes most items accurately and explains the reasoning, move to mixed practice or a slightly less supported geometry task. The 4th Grade Math hub can help place geometry beside other grade-level math practice, while the 4th Grade worksheet hub provides access to other subjects.
Schedule brief retrieval after the first lesson
Finishing all 25 items does not show whether the learner can recall the ideas later. Save several unworked items when possible, or recreate similar examples using different measurements and orientations.
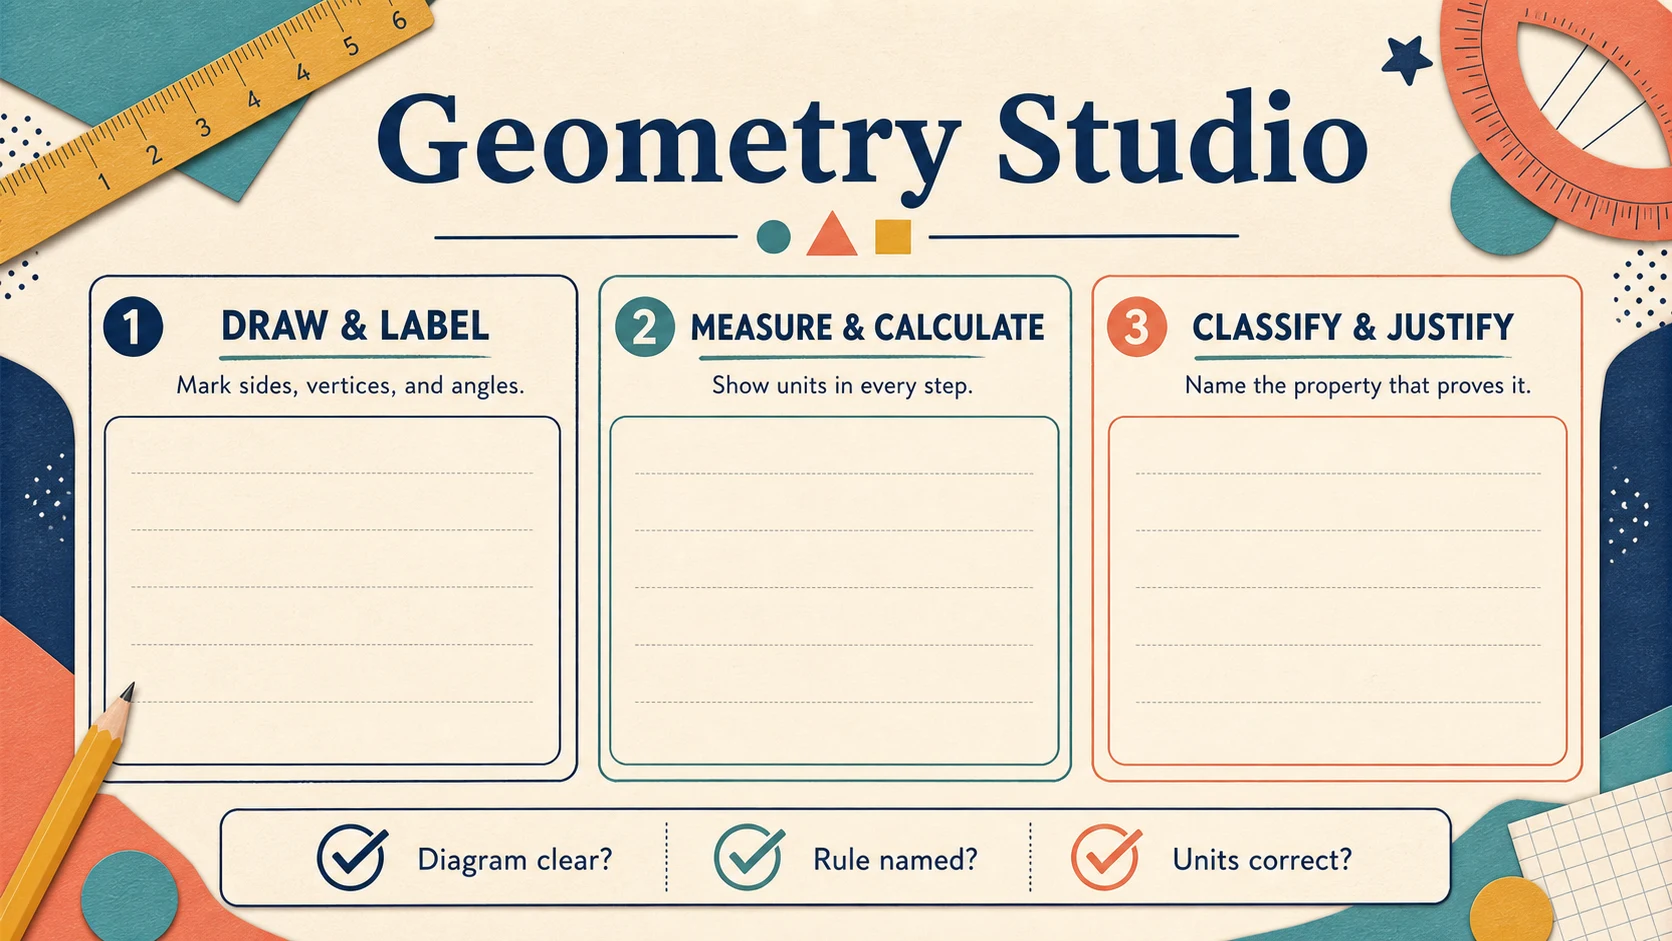
Revisit a small mix of shape, perimeter, and area tasks after increasing delays.
A practical, adjustable schedule is:
| Time | Retrieval task | What to observe |
|---|---|---|
| End of the lesson | One shape item and one measurement item | Can the learner explain without copying the model? |
| Next study session | Two previously corrected items | Is the earlier error avoided? |
| Several days later | One shape, one perimeter, and one area example | Can the learner choose the method independently? |
| One or two weeks later | A short mixed set with new dimensions or orientations | Does the understanding transfer to a changed example? |
This is an instructional suggestion, not a universal timetable or a sourced prescription for every learner. Shorten or extend the interval according to observed recall. If the learner cannot begin, return to a representation and then retry. If recall is immediate and explanations remain accurate, increase the spacing or move to a related skill.
For reusable practice, the free worksheet generators can produce additional material, but check that any generated task matches the learner’s current geometry focus before assigning it.
Keep the worksheet’s limitations in view
This printable is a 25-item, easy-level practice resource covering shapes, perimeter, area, and geometric properties. It can provide evidence about performance on its included exercises. It cannot by itself establish complete mastery of fourth-grade geometry, predict future performance, diagnose a learning condition, or represent every local curriculum sequence.
A learner may also perform differently when figures are rotated, measurements are embedded in word problems, diagrams include extra information, or answers require longer explanations. Those variations can be introduced after the learner demonstrates accuracy with the worksheet’s straightforward exercises.
Use the answer key responsibly, preserve corrected work for comparison, and record one or two specific observations. “Added only two sides when finding perimeter” is more useful than “needs geometry help.” “Identified tilted rectangles correctly in three examples” gives clearer evidence than “understands shapes.”
Continue with a targeted next action
After checking the page, select one skill from the learner’s actual work:
- Revisit varied shapes if names depended on orientation.
- Practice tracing and totaling every side if perimeter errors appeared.
- Build rectangles from square tiles if area was treated as boundary length.
- Use mixed area-and-perimeter prompts if the learner calculated accurately but chose operations by habit.
Then open the broader 4th Grade Geometry topic guide and choose the next free worksheet that directly addresses that observed need. Keep this completed printable nearby, and begin the next session with two retrieval examples before introducing new material.
Put it into practice
Use the guide with a real printable
Move from explanation to a short, observable practice task. Check the first item together, then adjust the next session from the learner's actual work.
See the 18-worksheet pack